
If you’re the administrator of your company’s Method:CRM Pro account, you’ll need to become familiar with the Customize tab. This is where you can adapt Method:CRM to best suit the needs of your company. We’ll take a look a look at all the tab links to get familiar with what the Customize tab offers.
My Account
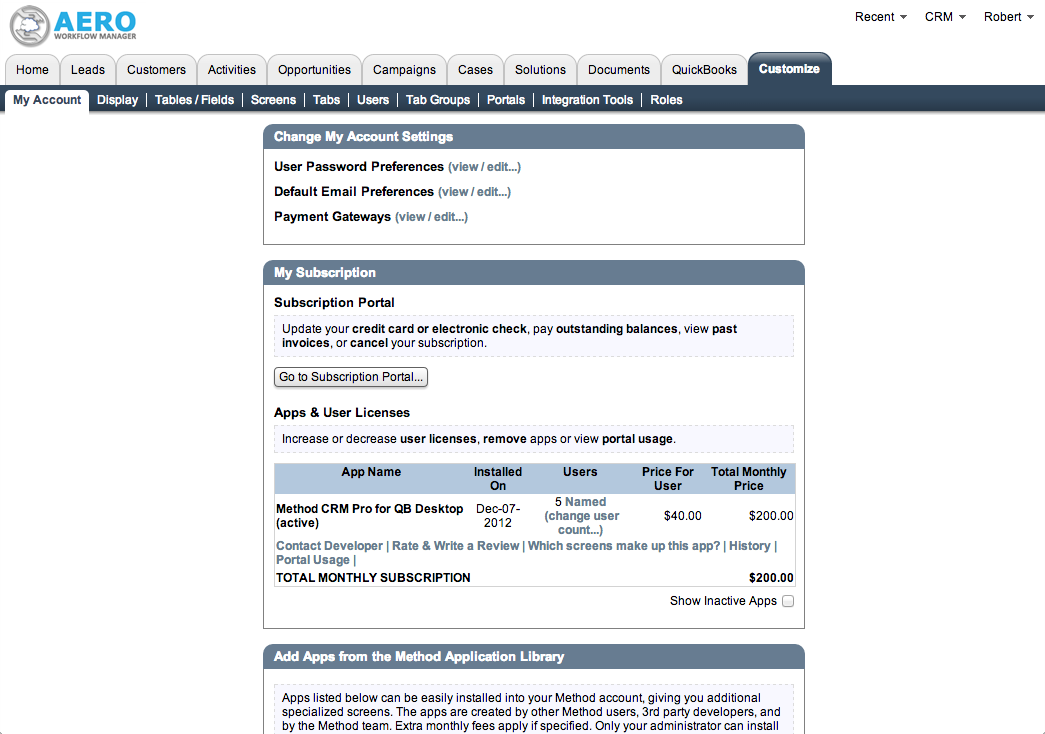
The first tab link gives an overview of your Method account. It allows you to change settings for various aspects of your account, as well as to manage your subscriptions to Method:CRM and any add-ons. This is also where you can add apps from the Method Application library.
Display

On the display screen, you’ll be able to customize the appearance of your Method account. You can upload an image of your logo and choose a font and colors to match your company’s branding. Further display customization includes choosing units for measurement and currency.
Tables/Fields
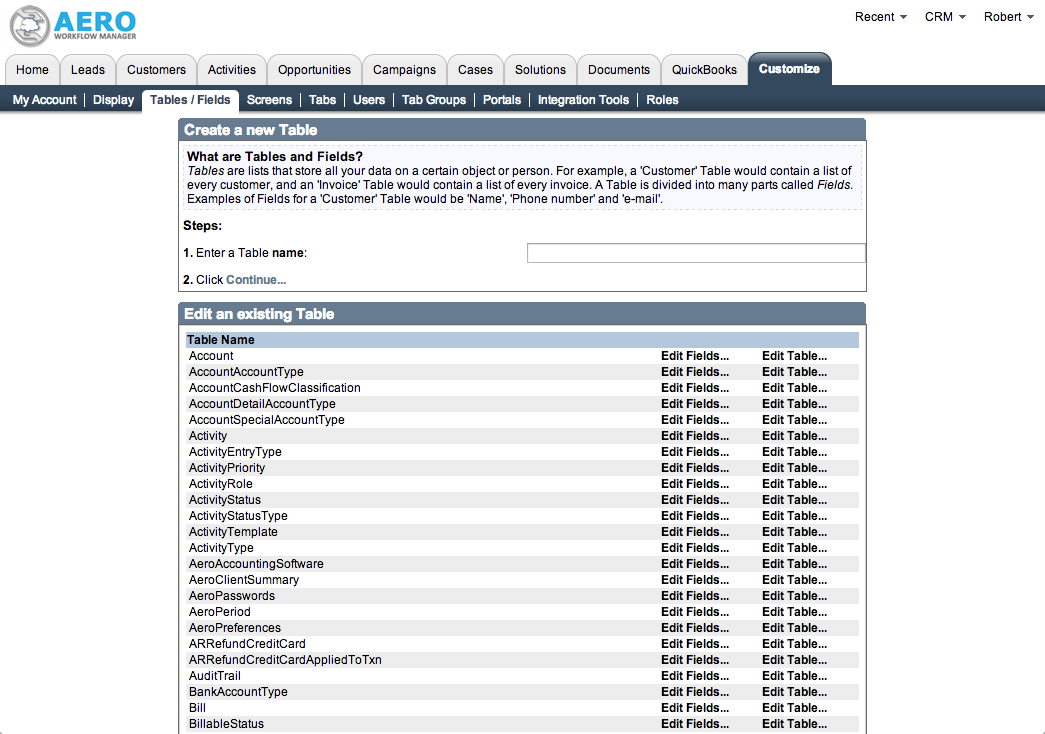
The Tables/Fields screen starts to get into advanced customization. This provides all the tables contained within your Method account and allows you to edit the fields in the table or the tables themselves. Each table is essentially a list of all your data as defined by the fields in the table. While some of these tables, like SalesOrder, might be something you’re fairly familiar with, many of them are more esoteric and are used in the back-end processes of Method. Creating and editing these tables forms a large part of Method:CRM customization work.
Screens
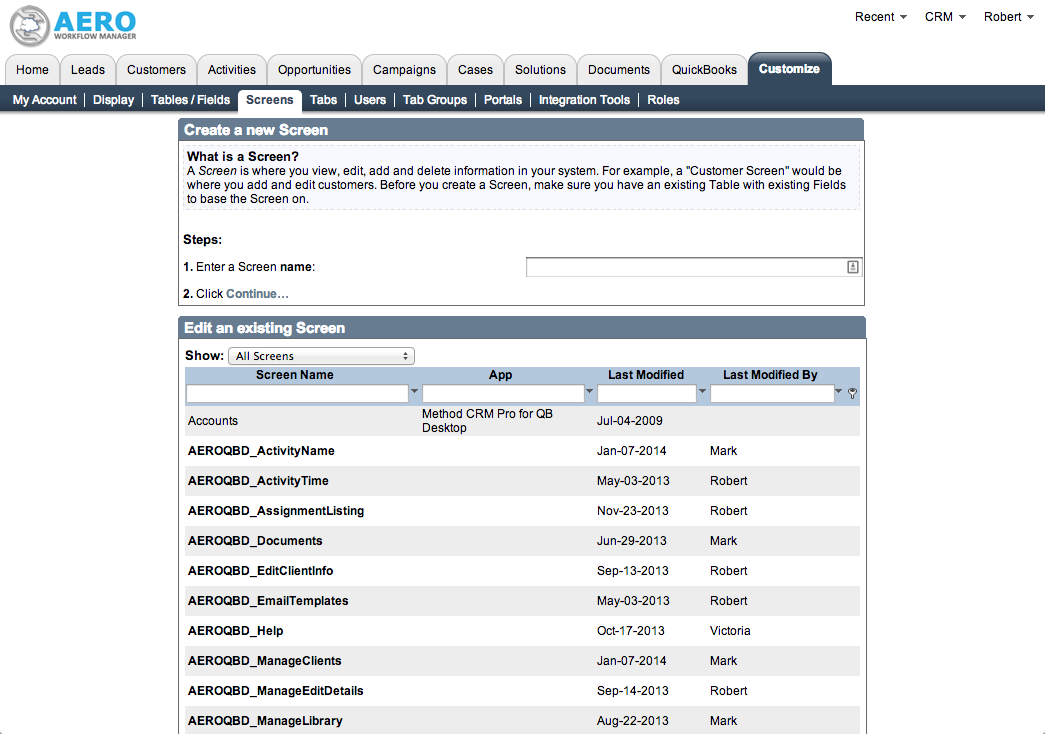
Like tables and fields, screens are part of advanced customization work. Screens, however, are the part of the Method platform that users directly interact with. When creating a screen, it must be backed up by tables with the appropriate fields. When a user enters information on a screen, that information will pass through to the associated table, although the user will never directly edit the table themselves.
Tabs
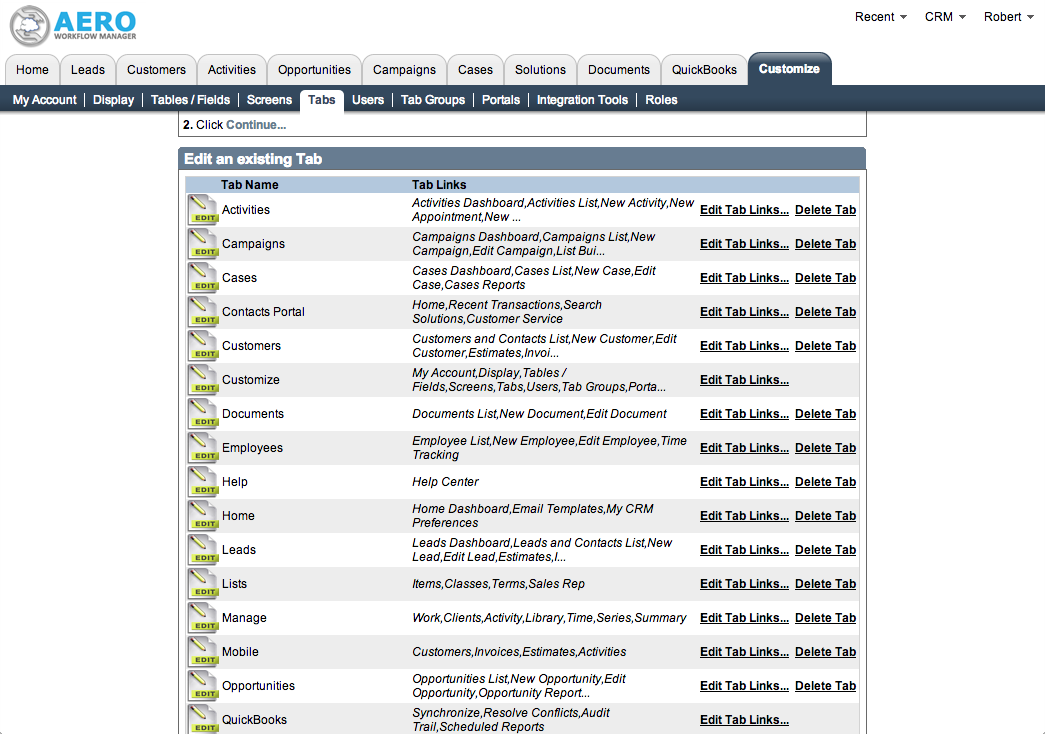
Tabs are broad navigation categories comprising multiple tab links to specific screens. Tabs have titles like “Customers,” while tab links are more specific, like “New Customer” or “Sales Orders.” From the Tabs screen, you can create new tab and edit which tab links are available on each tab. The same tab link can be accessed on more than one tab—for example, you may have your “Sales Order” tab link on your “Customers” tab, but also include it on a tab called “Accounting.”
Users
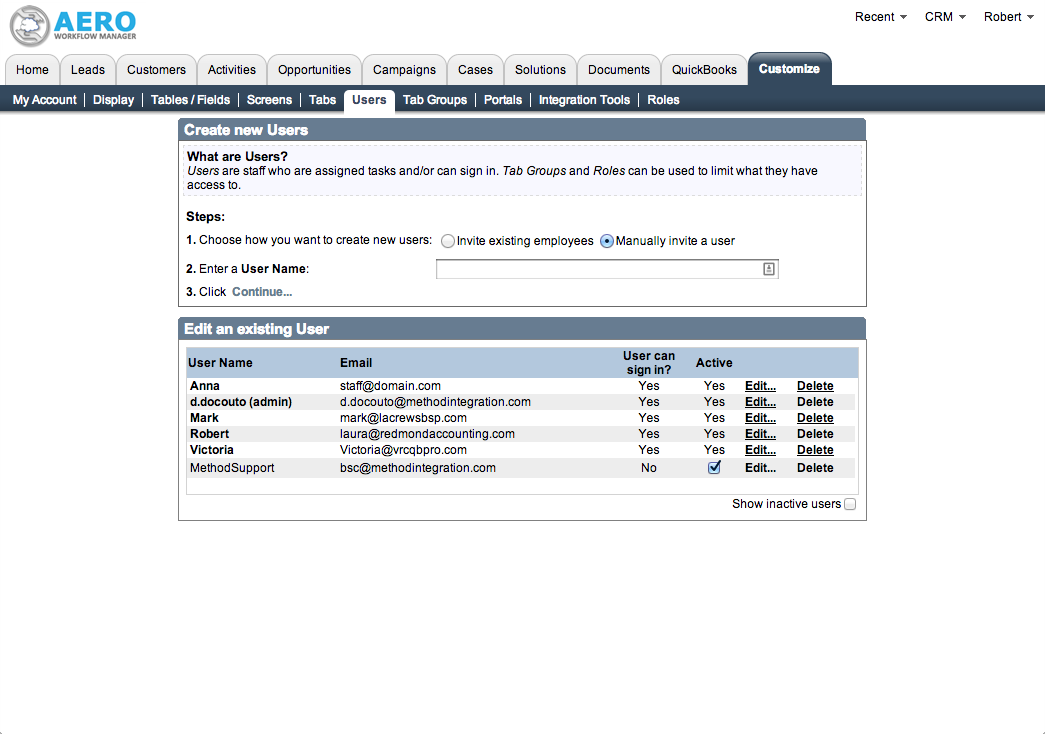
The Users tab is where you can create new users for your account and delete inactive users. You can also edit the settings for each user on this screen. Deleting a user does not decrease your number of subscriptions, though, so be sure to do that separately.
Tab Groups

Tab groups allow you to create sets of tabs that have different functions. For each tab group, you can determine which users will have access, providing a simple way to limit the access of some users to only the screens they need to complete their work.
Portals
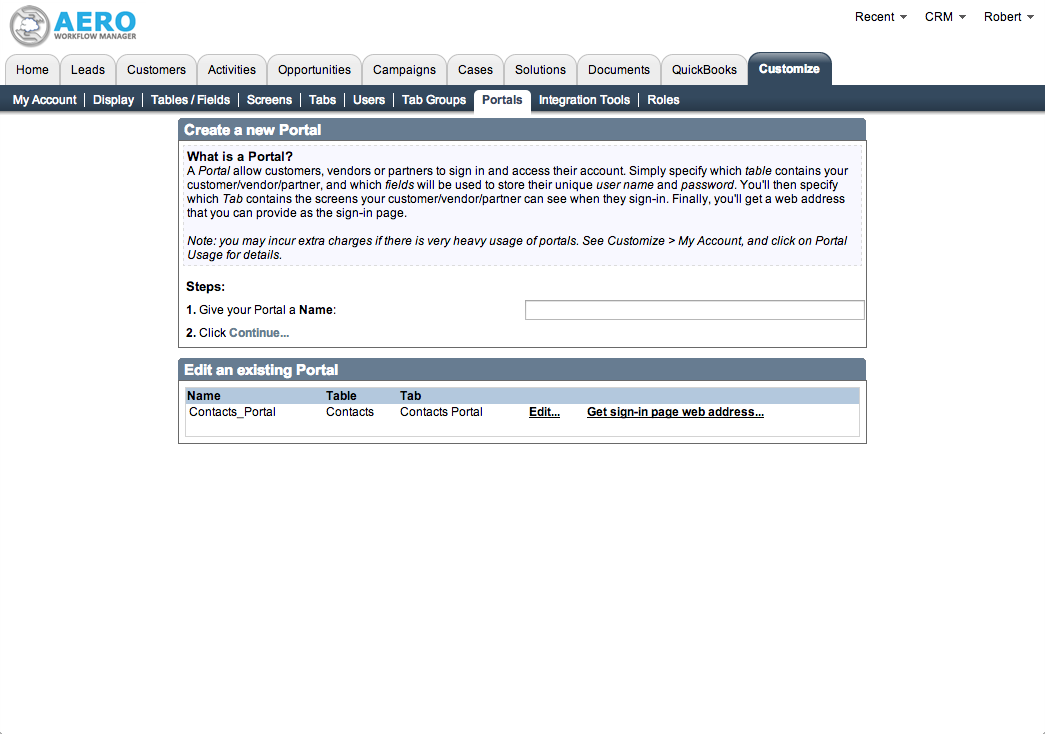
The portal is a direct link from your customers, vendors, or partners to your Method account. You can create multiple portals for different audiences who will have access to different screens upon logging in. The portal screen allows you to create and edit portals; to monitor portal usage, use the My Account tab link.
Integration Tools

The Integration tab link gives you access to settings for a wide variety of software and features that integrate with Method:CRM. These integrations can simplify workflow and increase productivity by automating many processes in Method.
Roles
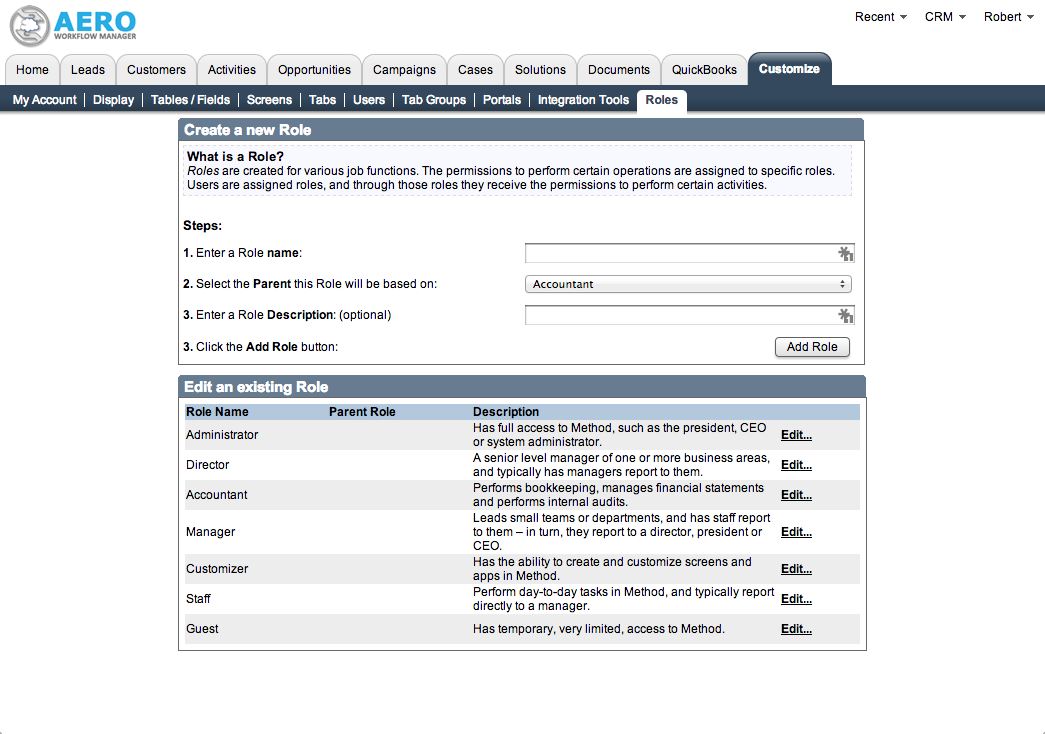
Roles are another way to manage permissions for users. By creating and assigning roles to your staff, you can broadly manage multiple users by choosing what roles can perform what functions.
Leave A Comment